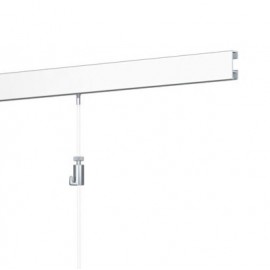
Artiteq Back Frame suspension and safety discs - per piece
Artiteq Back Frame suspension and safety discs - each
Artiteq Back Frame suspension and safety discs - per piece
Artiteq Back Frame suspension and safety discs - each
Artiteq Back Frame suspension and safety discs - per piece
Artiteq Back Frame suspension and safety discs - each
Artiteq Back Frame suspension and safety discs - per piece
Artiteq Back Frame suspension and safety discs - each
Artiteq Back Frame suspension and safety discs - per piece
Artiteq Back Frame suspension and safety discs - each
Artiteq Back Frame suspension and safety discs - per piece
Artiteq Back Frame suspension and safety discs - each
Artiteq Back Frame suspension and safety discs - per piece
Previous keyboard_arrow_left
Next keyboard_arrow_right
zoom_in

Artiteq Back Frame suspension and safety discs - per piece

€0.50
VAT included
Reference: 0516020

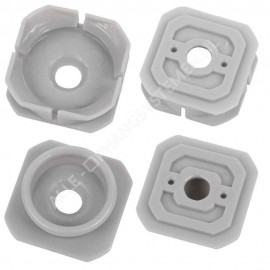
available per piece - each with a size of 35 x 25 mm

Shipment
€0.50
VAT included
Ordered before 12pm, shipped today
More than 25+ years of experience
Largest range in Europe

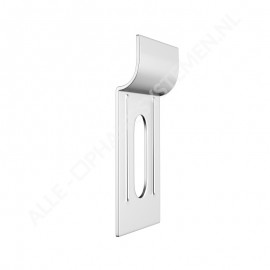
Artiteq Leveling and Safety Hangers (clips) in gray for the Artiteq Back Frame System with a 4.0mm hole .

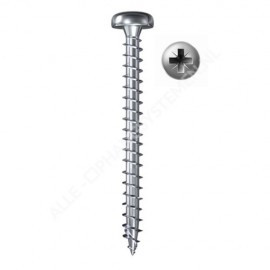
They are A-symmetrical plastic "clips" with a lip and an off - center hole. These Artiteq leveling hangers are attached to the wall in pairs with a screw . The hole in the disc is not central and the hangers can be turned - with the key - until the Artiteq Back Frame hangs straight on level and level . Each hanger has a 6 mm vertical adjustment and comes without screw and plug; these are optional and not included.

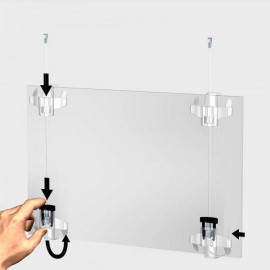
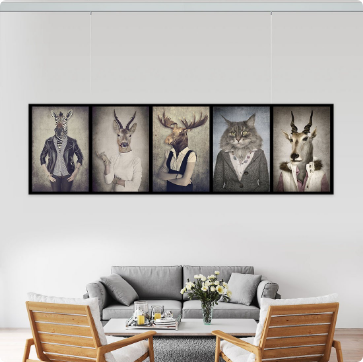
In addition, the photo panel can be mounted on the wall and locked anti-theft using 4 of these hangers. The frame then hangs on the top two clips and by turning the bottom two clips, the photo panel is locked with the safety key.

Assembly instructions - these refer to the last image above: 

  1. Determine the desired height at which the panel should hang and measure the distance from the top of the panel to the ceiling (measurement A).
  2. Measure the distance from the top of the panel to the top of the back frame (measurement B) (our advice is 100mm, but this is not always followed).
  3. The drilling height for the top holes is then A + B + 38mm, measured from the ceiling.
  4. Measure the height of the back frame (measurement C).
  5. The drilling height of the lower holes is then C - 78mm below the upper holes.
  6. Determine the exact place (horizontal) where you want to hang the panel and put a small mark on the wall where the center of the panel should be.
  7. Measure the width of the back frame (measurement D).
  8. The distance between the holes horizontally is D – 100mm (keep the same distance to the center on the left and right, so (dimension D + 100) divided by 2).
  9. Now the positions of the holes are fixed both vertically and horizontally.
  10. Mark these positions on the wall and check them again before drilling.
0516020
Loading...